PHP · MySQL · Raspberry Pi
Using a Raspberry Pi for your own Inventory Management System
Deploy OSWA-Inv on a Raspberry Pi with LAMP stack. Complete installation guide with database setup, permissions, and custom improvements.
Deploy OSWA-Inv on a Raspberry Pi with LAMP stack. Complete installation guide with database setup, permissions, and custom improvements.
Using a Raspberry Pi for your own inventory management system.
An open-source, inventory management system written in PHP with a MySQL database has no problem operating on a Raspberry Pi. Initially, you'll only have local network access, but if you want to allow remote web access, you can.
In order to setup a web interface to access, view, and manage the content of your inventory management system you'll need to set up a LAMP (Linux, Apache, MySQL, PHP) stack on your Raspberry Pi and configure it to work as a web server and set up a basic website which you can access on any device on the same network as your Pi. This is a link to a nice tutorial for setting-up a L.A.M.P. server on your Pi, the WordPress portion is optional, you can stop after installing PHP.
If you plan on having access to your Raspberry Pi through the Internet, you'll need to configure your router for port forwarding and DDNS settings, or use a tunneling service to access your Pi through the web.
Included Features:
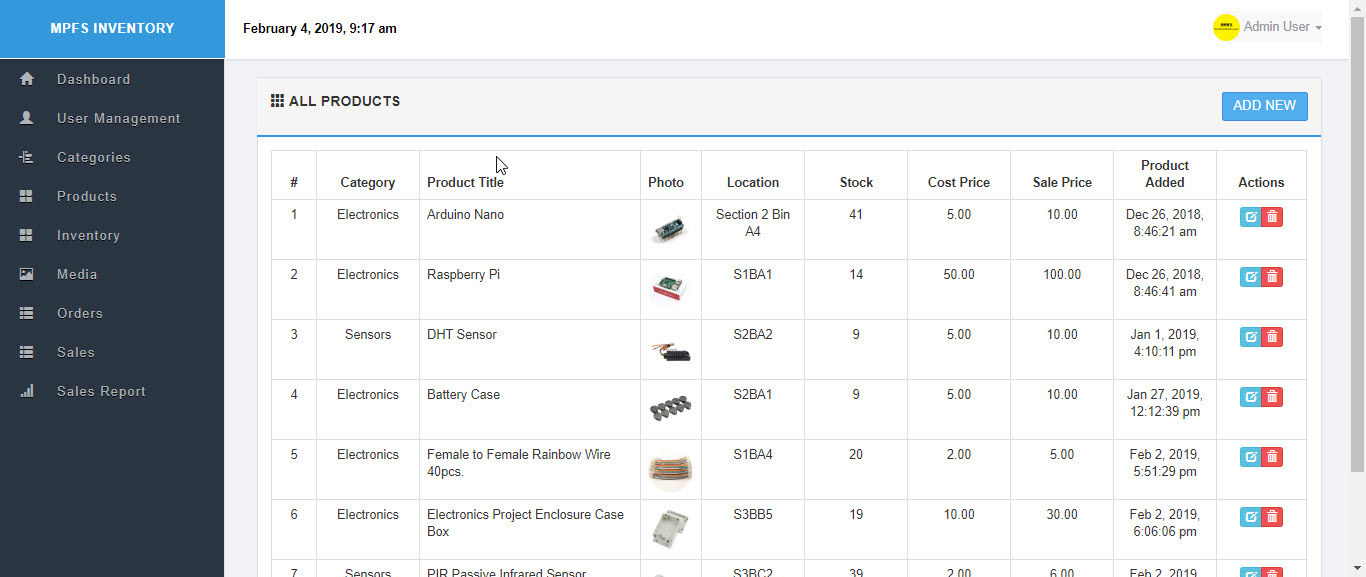
After updating the Raspberry Pi and setting up the LAMP stack, installation of the inventory application is relatively painless.
If you haven't done so, use apt to acquire and install the database software:
sudo apt update
sudo apt install mariadb-server php-mysql php-gd
php-gd for image processing. MariaDB 10.11+ has improved performance on Pi 4/5 with the default configuration.
When the installation is complete, run a simple security script that comes pre-installed with MariaDB which will remove some insecure default settings and lock down access to your database system. Start the interactive script by running:
sudo mariadb-secure-installation
mysql_secure_installation which had a typo. On modern Raspberry Pi OS with MariaDB, use mariadb-secure-installation (or mysql_secure_installation on older systems).
Download the source-code package and then you'll need to extract the contents to the folder. Either rename the folder to the base name now or after you move it to the web root for Apache Web Server found at /var/www/html/
example: sudo cp -R ~/Downloads/inventory-master /var/www/html/inventory
Use the MySQL/MariaDB command line to import the database schema.
Create a database named inventory and import the schema included in the project directory inventory.sql If you haven't done so, installation is as easy as:
sudo mysql -uroot

mysql> CREATE DATABASE inventory;
mysql> USE inventory;
mysql> source /var/www/html/inventory/inventory.sql

mysql> CREATE USER 'webuser'@localhost IDENTIFIED BY 'p1r4sp';
mysql> GRANT ALL PRIVILEGES ON inventory.* TO 'webuser'@localhost;
mysql> FLUSH PRIVILEGES;
Edit the /includes/config.php to match the username and password used to access your database.
The directory containing the project, especially, the uploads directory, must have write permissions on the system and let the web application be run using the www-data account by executing the following commands from the project directory:
sudo chmod -R 775 uploads/
sudo chown -R www-data:www-data *
Edit the header.php file lines #19 – #22 to suit the needs of your organization. e.g. change to logo
[project folder on server]/layouts/header.php
Same folder also contains the various menus used by the system.
Edit the CSS at line #85 and #102 to reflect the needs of your organization. e.g. background color
[project folder on server]/libs/css/main.css
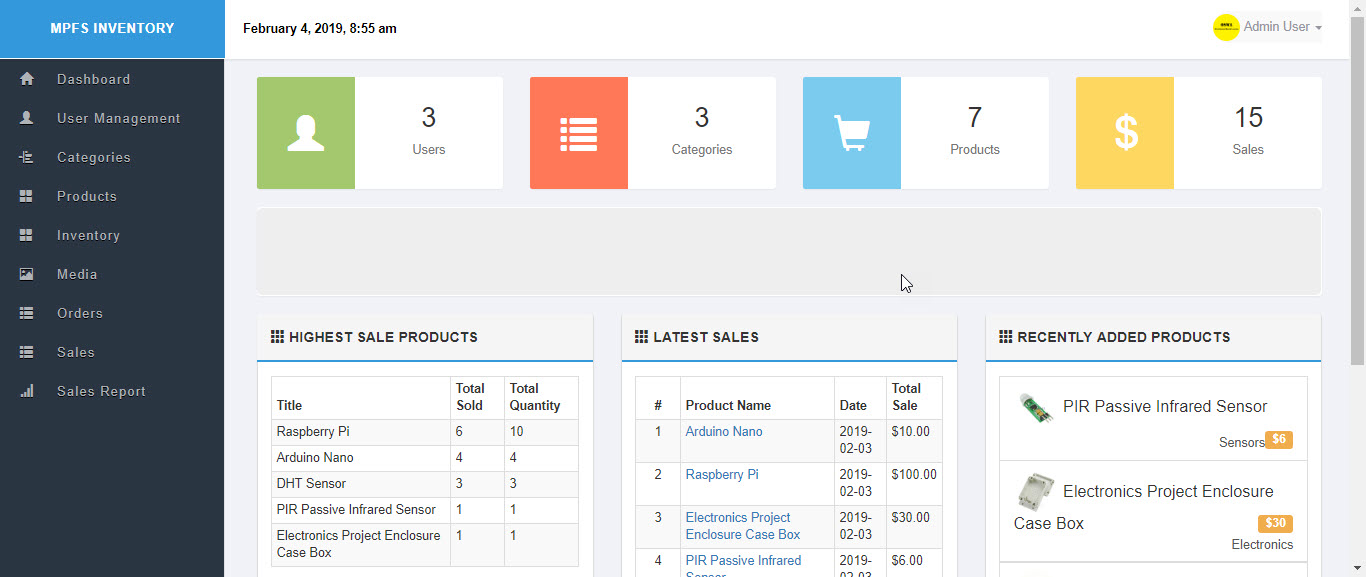
These are the improvements I've added for my own system:
View Improved Version Source Code on GitHub

Questions, experiences, or ideas — we're listening.